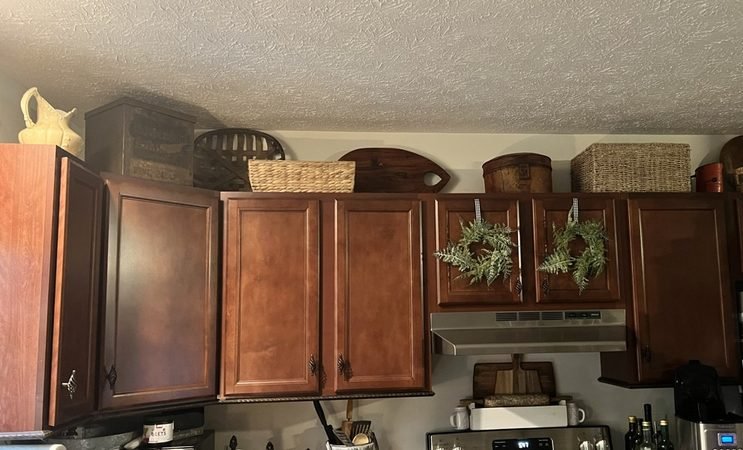
This post isn’t necessarily about French country decorating, but I wanted to share a little about our experience building our home – and one very simple way we gave our basic builder-grade cabinets a more custom look.
Would I do it again? Absolutely.
Would I do a few things differently? Also, absolutely. 😊
When we built our home in 2019-2020, one of the fun – yet slightly overwhelming – parts was getting to pick everything out. From flooring to cabinetry, doors to hardware, we selected it all.
Let me be clear, there is nothing particularly fancy about our house. It’s primarily a builder-grade rancher with a few upgrades, certainly not a 100% custom home. But that was also part of the fun. We could choose where we wanted to spend a little more and where we were perfectly happy to keep things basic.
When it came time for my husband and me to make our selections, his role was basically to keep me in check – and within budget.😉I wasn’t allowed to go completely crazy, so there were definitely compromises.
For example, I really, really, really wanted granite in the kitchen. Our compromise was to add it to the island while keeping the surrounding countertops a pretty black stone looking Formica. And you know what? I still love the contrast. In fact, if I ever upgrade those countertops I’d probably stick with something black, like soapstone.
The Cabinet Compromise
Then came the cabinetry.
I really liked cabinet option “#10”. With our particular builder, the choices were numbered, and – as you can probably guess – the higher the number the higher the price.
My choice was a beautiful creamy white, soft-close, slightly distressed cabinet.
My husband “loved” #1: light colored birch, basic, and inexpensive.
Blah. 😂
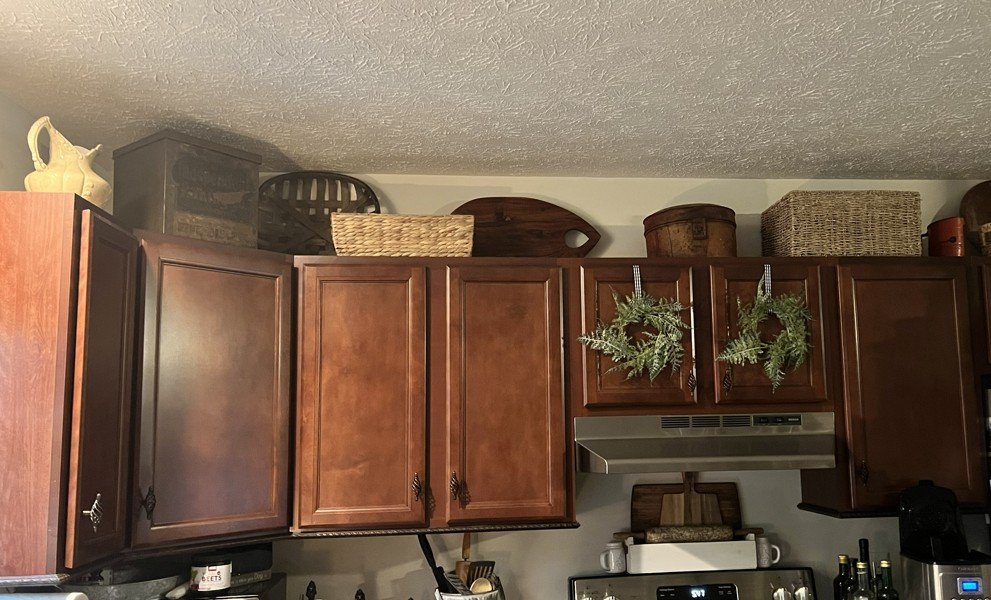
So once again, we compromised and ultimately chose a basic builder-grade cabinet in a dark cherry finish.
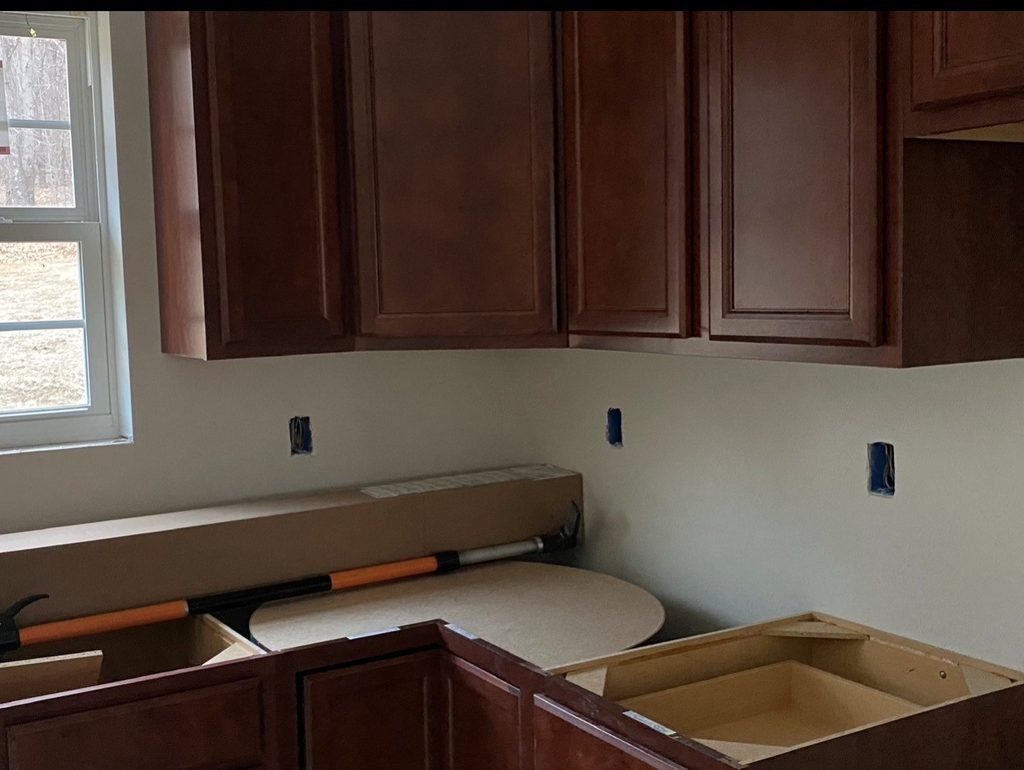
And to be fair, I actually really like them – especially now.
After the cabinets were installed, we added the hardware ourselves. We chose an oil rubbed bronze birdcage-style hardware, that gave them a little more personality and worked perfectly with the French country feel I wanted for the kitchen.
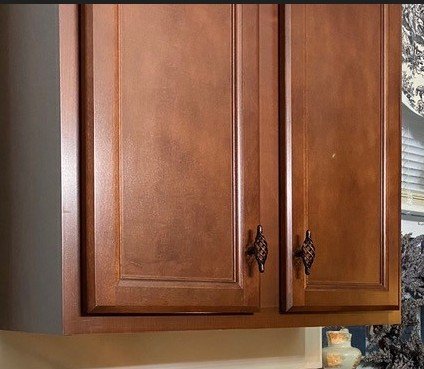
But a few years later, a random thought came to me:
What if we added trim to the cabinets and made them look a little more custom?
A Simple Trim Made a Big Difference
Surprisingly, my husband liked this idea – and he is definitely not always on board with my decorating brainstorms. 😂
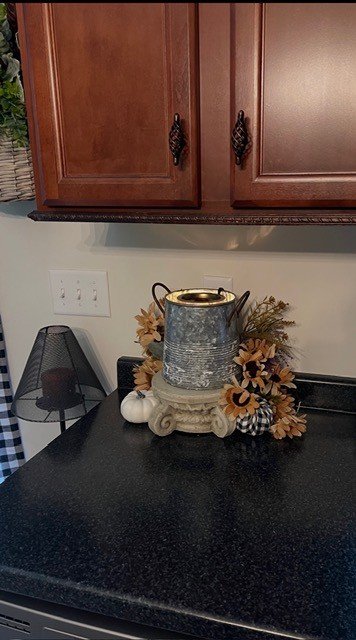
Off the Lowe’s we went in search of the right trim. We found a small rope-pattern molding that had just enough detail without being too much.
We also picked up a small can of Minwax mahogany stain, which was the closest match we could find to the existing cherry finish.
We stained all of the trim first and let it dry completely. Then came the fun part: measuring and making all those cuts.
Once everything was cut and ready, it was time to install it. We had finishing nails and Gorilla Construction Adhesive on hand, but ultimately we only needed the adhesive. That stuff is the real deal!
Builder Grade Doesn’t Have to Stay Builder Grade.
The finished trim gave our basic cabinets just a little extra little pizazz and made them feel much more intentional.
I’d still love to add trim or molding along the tops of the cabinets someday – and maybe we will. But that’s a project for another day.
A Few More Custom Touches
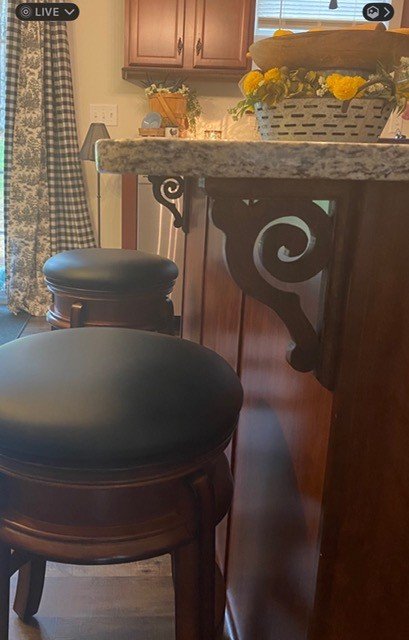
We didn’t stop with the cabinets. We also added decorative wood cornices beneath the granite overhand on the island. I stained them to coordinate with the cabinetry and gave an otherwise basic builder-grade island a little more architectural detail.
We also added a towel bar to the end of the island – which turned out to be both decorative and practical.
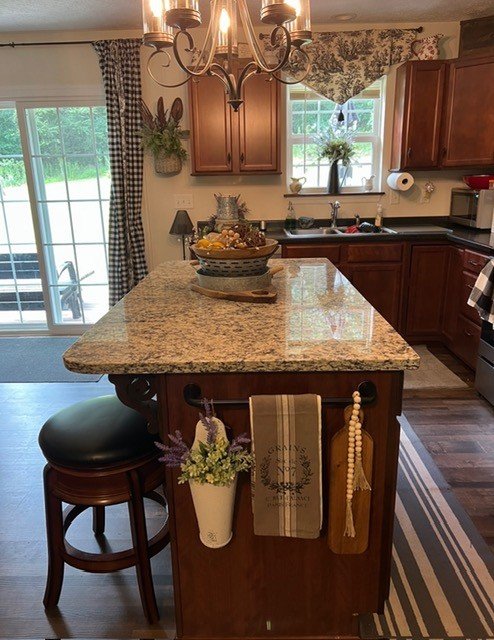
None of these changes were huge or terribly complicated, but together they made our kitchen feel less builder-basic and like ours.
And I think that’s really the point. If your budget demands something basic when you’re building or renovating, don’t be discouraged. You don’t have to do everything – or pay for every upgrade – at once.
Sometimes a little trim, new hardware, a decorative detail or two, and a good idea that begins with “What if we…” can make something basic feel a whole lot more special.
If you liked this post, you may also enjoy the make-over I gave a pair of vintage end tables.
As an Amazon Associate I earn from qualifying purchases. I only share products I have personally used or would recommend.
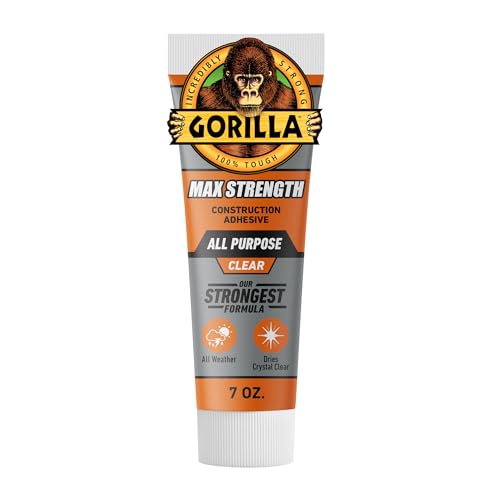
- OUR STRONGEST FORMULA: Maximum bond strength with a clear, professional finish for projects that demand maximum hold ind…
- DRIES CRYSTAL CLEAR: Dries crystal clear with a non-foaming formula for clean, invisible bonds, plus paintable in 2 hour…
- WORKS UNDER WATER: 100% waterproof formula that works under water and bonds on wet surfaces, ideal for tub, shower, work…

- The Magellian backless bar stool is made with a durable rubberwood frame to ensure longevity.
- These attractive stools will add comfort and charm to your kitchen or bar area. Available in counter or bar heights.
- The wonderful full 360-degree swivel function allows for maximum mobility and ease of movement, enhancing your seating e…

- Brand: GlideRite Hardware
- Type: cabinet knobs
- Dimensions: 3 inches long x 1-1/2-inch projection x 1/2 inch wide

- Brand: GlideRite Hardware
- Type: cabinet pulls
- Dimensions: 5-3/8 inches long x 1-1/2-inch projection x 3/4 inches wide
Leave a Reply